How to Build a Border Wall
Garden Clippings for March 7, 2020
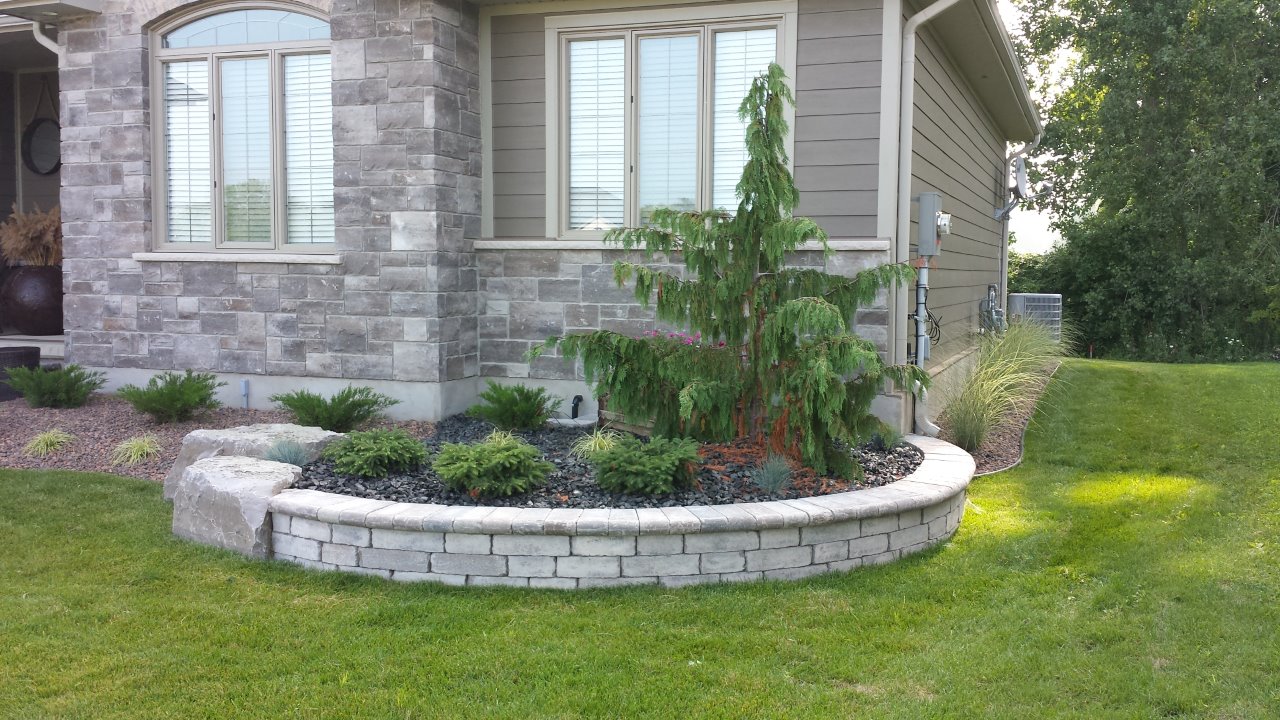
Block retaining wall units are the easy way to create garden walls. Blocks are versatile, relatively inexpensive and allow for creativity in design.
Border walls are easy to install, but too often I have seen retaining walls that look great at installation time, but in a year or two begin to heave, shift, settle or even fall over.
The first and perhaps most important step is design. I always start with a few sheets of graph paper where I draw a top-down or birds eye view of the house, walkway, driveway, existing trees and property lines. Then I will draw out a few different garden bed shapes until I arrive at one that suits my fancy.
Next, go outside and mark out what you’ve put on paper. Use a garden hose, spray paint, stakes or extension cord to mark the bed shape and then take several steps back to review the shape. Adjust as you see fit.
Dig a trench 16 to 18 inches wide, first removing the sod, then removing the topsoil. Dig down till you reach sand or clay subsoil, usually about 4 or 5 inches deep. Toss the topsoil into the garden bed for future use. Don’t skimp on the width of the trench. If your garden wall units are 8 inches deep, you will want 4 inches in front and behind the wall for stability.
Put gravel in the trench. Any gravel will do the trick, but the best is A gravel. Fill the trench till it is about 3 inches below the existing adjacent grade. Pack the gravel down with a mechanical tamper or hand tamper. If the gravel is not thoroughly tamped your border wall will surely settle.
Next add about an inch of bedding sand, screenings or advanced performance base gravel. Rake it level as best you can.
Set your first wall unit in place, beginning at the house. If your trench is sloped, set the first block at the lowest point. Use a rubber mallet and short carpenter’s level to ensure the first block is level from side to side and front to back. Add or remove bedding sand as necessary to make sure the initial unit is level. You will want the first layer of blocks to be buried at least halfway into the adjacent ground level.
Add another block and place it next to the first, making sure the two blocks are at the same level. You will find this part of the job time consuming and frustrating, but don’t give up. Once the bottom row is perfectly level, the rest of the job is a piece of cake.
For the second layer, cut one block in half so the joints are staggered. You will need a concrete saw or good quality hammer and chisel. Begin putting down more blocks till the second layer is complete. Add subsequent layers until you are at your desired height.
Be aware that the higher the wall, the more pressure pushes against it. If your wall is over 12 inches high, you will want to add gravel behind the wall for drainage. You may also want to install a perforated drainage system behind the wall to get rid of excess water. Use landscape fabric to separate the drainage material from the garden topsoil. For walls greater than 18 inches high, you will want to consult with a professional.
For the top layer, consider sliding the top block ahead by an inch or so. Look at the option of using a decorative cap stone for the top layer. Do move the top layer forward to create a finished shadow effect. Use a landscape adhesive to bond the top cap stones to the lower layers.
When all is said and done, back fill with good topsoil and sit back to admire your hard work.